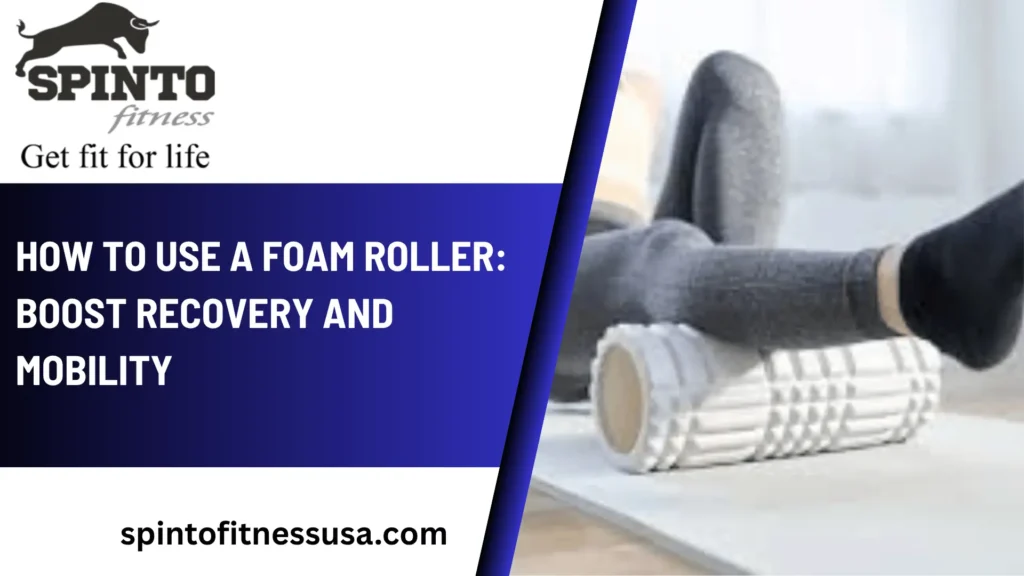
Why Foam Rolling Is Your Recovery Bestie
Hey, my awesome lifting crew! You know how rough it can get if you’ve ever felt a stiff muscle ache after a tough deadlift or leg day. That’s where a foam roller steps in like a good friend, helping you loosen up those tight spots, shake off soreness, and bounce back stronger for your next lift. Whether you’re working on your back, lower back, or legs, this little tool can make a big difference in how you feel. I’ve been using one after my workouts, and it’s been a lifesaver. It changed how I recover. Let’s figure out how to use a foam roller together, with some exercises and tips to keep you moving like a champ!
Ever felt that tightness and wondered how to fix it? Let’s roll it out step by step!
The Basics of Foam Rolling
Let’s take a moment to chat about what foam rolling is all about. It’s a way to give yourself a deep massage using a foam cylinder, helping to break up those pesky muscle knots, get your blood flowing, and make your muscles a bit more flexible. I picked up a simple 12-inch roller for under $20, and it’s been a game-changer for me after lifting.
It’s not a magic fix, but it really helps with soreness, gets me moving better, and even cuts down on injury risks when I do it right. You don’t need to be a pro—just start slow, and your body will love the attention. Ready to give it a go? Here’s how to make it work!
How to Use a Foam Roller for Different Areas
1. How to Use a Foam Roller for Back
- How to Do It: Lie on your back with the roller sitting under your upper or mid-back, knees bent, and feet flat on the ground. Rest your head in your hands, lift your hips a little, and roll slowly from just below your shoulders down to the top of your lower back. Pause on any tight spots for 20-30 seconds. I do this after bench presses, and it feels like a weight’s lifted off!
- Why It Works: This eases tension in your upper back and lats, which can get tight from pressing or pulling. I felt less stiff after trying it for a week!
- Tip: Steer clear of rolling right on your lower back or spine—stick to the muscles on the sides. I figured this out after a wobbly first try!
2. How to Use a Foam Roller for Lower Back
- How to Do It: Put the roller under your lower back, just above your hips, with your knees bent and feet on the floor. Cross your arms over your chest and roll gently up to the bottom of your ribcage, holding tight spots for 20-30 seconds. I use this after deadlifts to loosen up that lower back tightness!
- Why It Works: It targets those erector spinae muscles that take a beating during deadlifts. My lower back felt so much better after a few goes.
- Tip: Keep it light and controlled—overdoing it once left me sore, so I take it easy now!
3. How to Use a Foam Roller for Legs
- How to Do It: For your quads, lie face down with the roller under your thighs, propped up on your forearms. Roll from just above your knees up to your hip flexors, pausing on knots for 20-30 seconds. For hamstrings, sit with the roller under your thighs, lift your hips, and roll from below your glutes to above your knees. I do this after squats, and my legs feel so much lighter!
- Why It Works: This loosens up quad and hamstring tightness from leg days. I had less soreness after leg presses once I started this.
- Tip: Take it slow and skip bony spots like your knees—kept me from feeling uncomfortable!
Foam Roller Exercises for Full-Body Recovery
1. IT Band Roll
- How to Do It: Lie on your side with the roller under your outer thigh, just below your hip. Lean on your forearm and rest your top leg in front, rolling from hip to just above the knee for 30-60 seconds per side. It stings a bit at first, but I push through!
- Why It Works: This eases IT band tightness, which can build up from running or squatting. My side felt more open after a week.
- Tip: Go slow—rushing made it hurt more when I started!
2. Calf Roll
- How to Do It: Sit with the roller under your calves, hands behind you for support. Lift your hips and roll from your ankles to just below your knees, holding knots for 20-30 seconds. I do this after leg day, and it’s a relief!
- Why It Works: Releases calf tension from lifts or cardio. My calves were less tight after a few tries.
- Tip: Cross one leg over the other for extra pressure if you’re up for it.
3. Glute Roll
- How to Do It: Sit on the roller with one glute, crossing the opposite leg over your knee like a figure-four. Roll slowly for 30-60 seconds per side, pausing on tight spots. I use this after deadlifts, and it really helps!
- Why It Works: Targets glute tightness from hip-heavy lifts. My hips felt looser after a week of this.
- Tip: Shift your weight to stay off your lower back—kept me safe!
Foam Roller Recovery Tips
- Warm Up First: Roll after a 5-10 minute warm-up to get those cold muscles ready. I skipped this once and felt stiffer—lesson learned!
- Don’t Overdo It: Stick to 1-2 minutes per area, 2-3 times a week. I over-rolled once and got sore!
- Breathe Through It: Take deep breaths to relax—helped me get through those tight spots.
- Pair with Stretching: Follow up with static stretches for the best results. I add hamstring stretches, and it’s a perfect combo!
- Listen to Your Body: Stop if you feel a sharp pain—I paused once and dodged an injury.
Who Needs Foam Rolling?
If you’re sore after lifts, feeling stiff in your back or legs, or wanting better mobility for deadlifts and squats, this is for you. Newbies can use it to recover from new moves—I started after my first week! Intermediate lifters lifting 200+ pounds can ease muscle tension with it. I’ve noticed less DOMS since adding it to my routine.
Feeling a bit tight? Roll it out and see the difference!
How to Fit Foam Rolling Into Your Routine
I spend 10-15 minutes after workouts, hitting the sore spots. I start with my back and legs, then add IT band or glutes if needed. Do it 2-3 times a week—after lifting or on rest days. I roll after deadlifts, and it’s become my go-to cool-down. It’s all about sticking with it; I felt results in two weeks!
Where to Get a Foam Roller
Pick one up from Amazon, Rogue Fitness, or Spinto Fitness—I got a basic one for $15. Check reviews for firmness—soft for beginners, firm for pros. Your muscles will love it! And hey, why not check out Spinto Fitness for a great deal on a foam roller to kickstart your recovery today?
Ready to feel better? Grab one and start rolling!
Maintaining Foam Roller Benefits
I clean mine with a damp cloth and mild soap after use—weekly keeps the sweat away. Store it flat to hold its shape. Replace it every 6-12 months if it wears out—I swapped mine after it flattened! Keep it up for long-term gains!
My Journey: From Stiff to Supple
A month ago, my back and legs were stiff after deadlifts. I started with a roller, focusing on my lower back and quads. It was tough at first—my IT band was brutal!—but after three weeks, I moved easier and lifted 10 pounds more. You can do it too—start gentle and keep going!
Want that recovery edge? Try these tips and feel the change!
FAQs
How long should I roll?
- 1-2 minutes per area—I overdid it once and regretted it!
Does it hurt?
- A little discomfort is okay, but stop if it’s sharp—saved me from pain.
Can it replace stretching?
- No, pair it with stretches—my flexibility got better with both!
How often should I do it?
- 2-3 times a week—more tired me out at first.
Is it good for injuries?
- Ask a doc first—I avoided rolling a sore knee on advice.
What roller should I buy?
- Start with a medium-density one—I love my 12-inch pick!
Bonus: Free Foam Roller Guide
Need a plan? Download our Foam Roller Recovery Guide PDF for a 4-week routine! Sign up for our newsletter for more tips and deals—recover smarter!