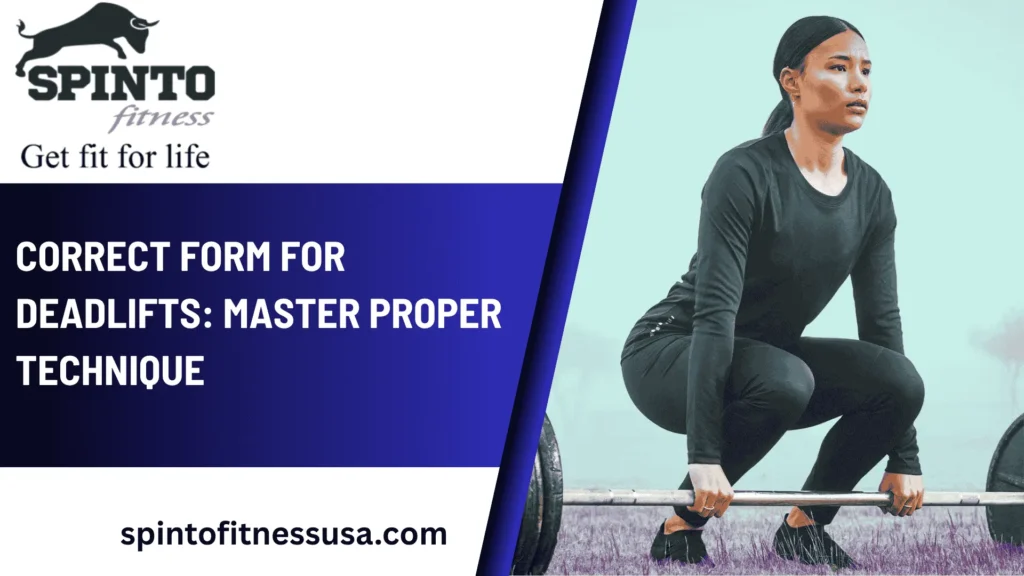
Why Proper Deadlift Form Is a Game-Changer
Hey, my lifting crew! If you’ve ever pulled a deadlift and felt that satisfying lift—or maybe a twinge where you shouldn’t—then you know form is everything. The deadlift is a powerhouse move that works your whole body, but get it wrong, and you’re risking back pain or stalled progress. Proper form keeps you safe, maximizes strength gains, and lets you lift heavier confidently. Whether new to the barbell or a seasoned lifter, nailing the technique is key. Let’s break down the Correct Form for Deadlifts together so your deadlifts can shine!
Wondering how to lift without the ouch? Let’s get that form locked in!
The Basics of Deadlift Form
Before we dive into the steps, let’s talk about what makes a deadlift tick. It’s a hinge movement—think hips pushing back, not a squat—where you lift a loaded barbell from the ground to a standing position. The goal is to engage your posterior chain (hamstrings, glutes, lower back) while keeping your spine neutral. I’ve messed up my form before, rounding my back on a 200-pound pull, and felt it for days! Good technique protects your spine, boosts power, and sets you up for PRs. Ready to learn? Here we go!
Step-by-Step Guide to Perfect Deadlift Form
1. Set Up Your Position
- How to Do It: Stand with your feet hip-width apart, toes under the bar, and shins close (about an inch away). The bar should rest over your midfoot. I like to scuff my shoes on the platform to mark my spot! Bend at your hips and knees to grip the bar just outside your legs, hands shoulder-width apart.
- Why It Works: This starting point aligns your body for a strong pull. I learned the hard way—standing too far back made my lift wobbly.
- Tip: Wear flat shoes like Chuck Taylors for stability; I switched from running shoes, and it helped a ton.
2. Grip the Bar Correctly
- How to Do It: Use a double overhand grip (both palms facing you) for lighter weights, or a mixed grip (one palm in, one out) for heavier lifts. Squeeze the bar hard—I focus on crushing it to activate my hands.
- Why It Works: A firm grip prevents slipping and engages your forearms. I slipped once with sweaty hands until I tightened my hold!
- Tip: Chalk up if your hands get slick; it saved my last heavy set.
3. Brace Your Core
- How to Do It: Take a deep breath into your belly, not your chest, and brace like you’re about to take a punch. Hold that tension throughout the lift. I practice this before every pull, and it feels solid!
- Why It Works: A braced core stabilizes your spine, preventing that dangerous arch. I ignored this once and felt my lower back complain.
- Tip: Exhale at the top or during the descent—don’t hold your breath too long.
4. Lift with Hips, Not Back
- How to Do It: Push through your heels, extend your hips forward, and straighten your knees as you stand. Keep the bar close to your body, almost scraping your shins. I imagine dragging it up my legs!
- Why It Works: This engages your glutes and hamstrings, sparing your back. I used to yank with my spine until a coach corrected me.
- Tip: Look forward, not down, to keep your neck neutral—helped me avoid strain.
5. Lock Out at the Top
- How to Do It: Stand tall with hips and knees fully extended, shoulders back, and a slight chest puff. Don’t lean back too far—I overdid it once and felt wobbly! Hold for a second, then prepare to lower.
- Why It Works: This completes the lift safely and builds strength. My first lockout felt shaky, but practice made it solid.
- Tip: Avoid hyperextending—keep it natural.
6. Lower with Control
- How to Do It: Hinge at your hips, push them back, and lower the bar along your legs. Keep it close and bend your knees only when the bar passes them. I focus on a slow drop to avoid banging my shins!
- Why It Works: Controlled descent prevents injury and reinforces the hinge. I rushed it once and scraped my legs—ouch!
- Tip: Don’t bounce the bar off the floor; reset each rep for form.
Common Deadlift Form Mistakes and Fixes
- Rounded Back: Fix with a stronger core brace. I caught this on video and adjusted my breathing.
- Bar Too Far Forward: Step closer to the bar. I misjudged once and felt off-balance!
- Jerking the Lift: Start smooth—practice with lighter weights. I jerked at 150 pounds and tweaked my back.
- Overextending at Top: Stop at neutral, not arched. I learned this after a shaky 250-pound pull.
- Knees Shooting Forward: Push hips back more. My knees moved too much until I focused on the hinge.
Who Needs to Focus on Deadlift Form?
If you’re new, feeling back pain, or plateauing at 200-300 pounds, this is for you. Beginners need it to build safe habits—I wish I’d known this starting out! Intermediate lifters lifting heavier (300+ pounds) should refine it to avoid injury. I hit a wall at 280 pounds until I fixed my hinge, and now I’m pushing 300 safely!
Struggling with form? Let’s get you lifting right!
How to Practice and Progress
Start with an empty bar or 95 pounds, doing 3 sets of 5 reps to nail the movement. I began here and built up over weeks. Add 10-20 pounds weekly if form holds, using a mirror or video to check. Warm up with 2-3 light sets—I do this before every session, and it preps my body. Consistency beats rushing; I gained 50 pounds on my lift in three months this way!
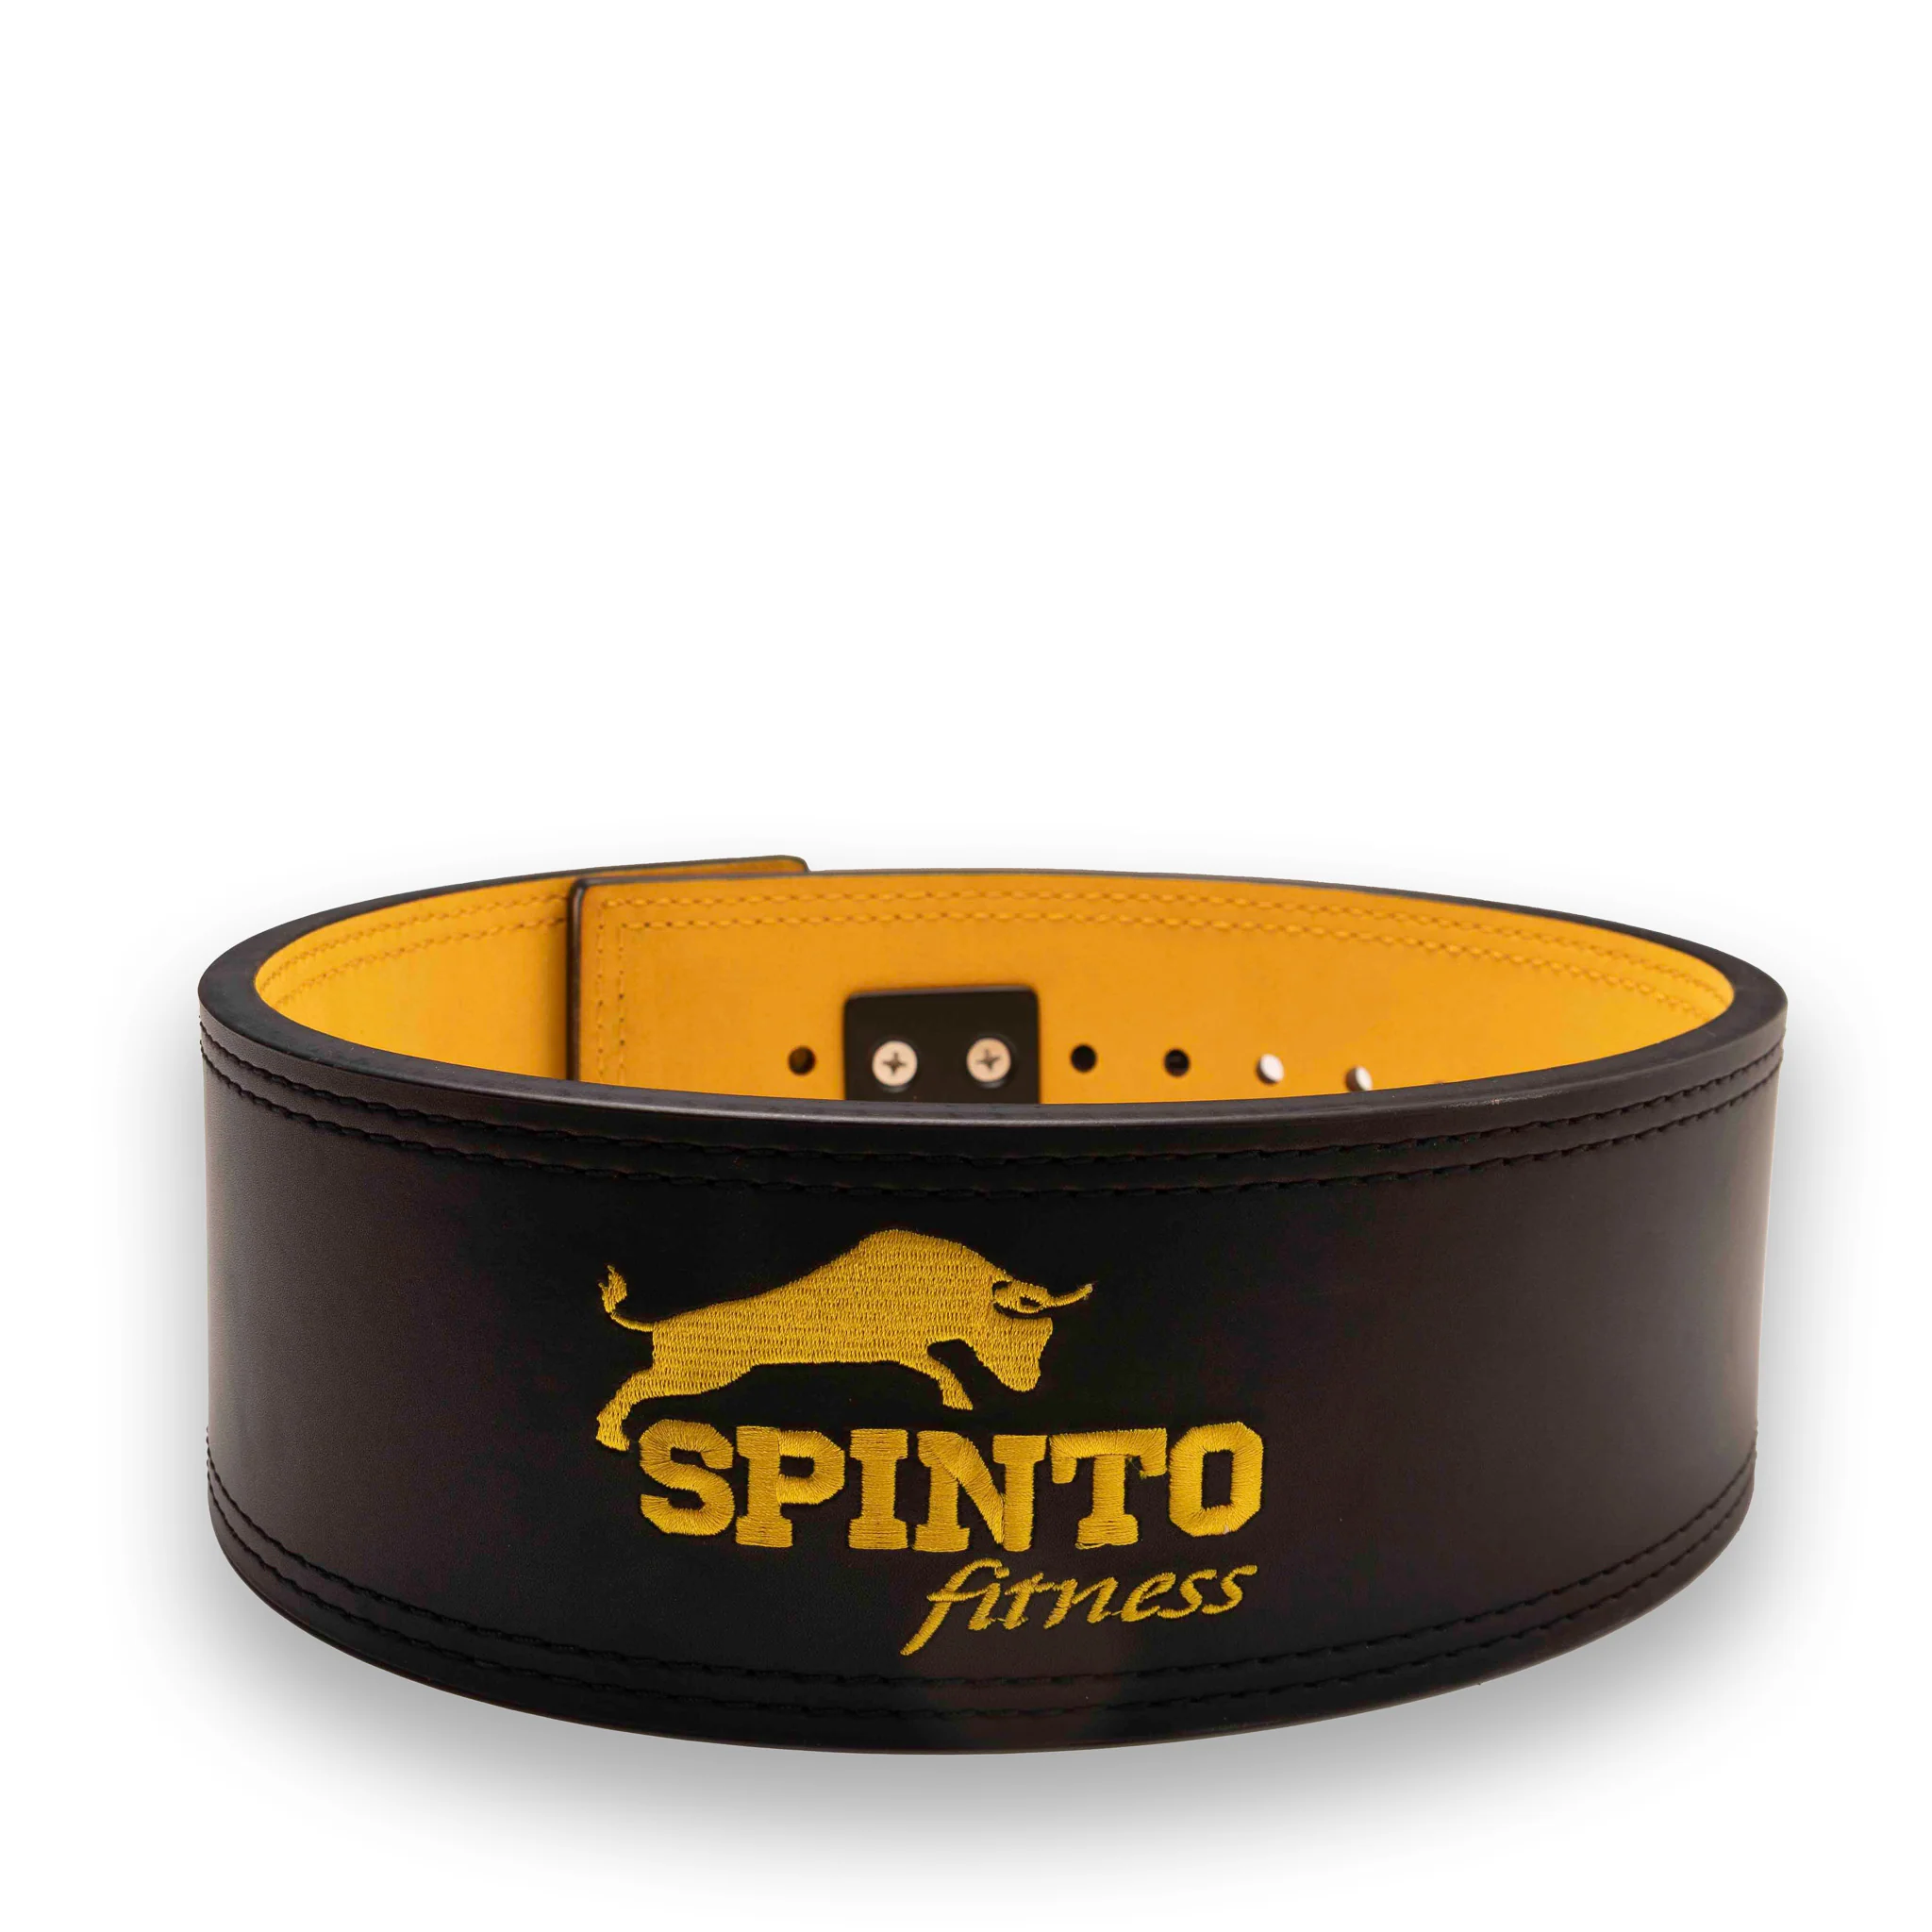
Where to Get Deadlift Gear
Grab a bar and plates from Rogue Fitness, chalk from Amazon, or straps from Spinto Fitness for heavy days. I got my chalk online, and it’s a lifesaver. Check reviews for quality—your back deserves the best!
Ready to lift safely? Shop these and start practicing today!
Maintaining Deadlift Health
Stretch your hamstrings and lower back post-lift—I use a 30-second toe touch. Rest 48 hours between sessions; I learned this after overtraining. Ice if sore—I did after a tough 300-pound day. Keep it up for strong lifts!
My Story: From Wobbly to Solid
I used to round my back and jerk lifts, stalling at 200 pounds. A coach showed me the hinge, and I started with 135 pounds, focusing on form. After weeks of practice, I hit 300 pounds with no pain. You can too—start light and build!
Want that perfect pull? Try these tips and feel the difference!
Correct Form for Deadlifts FAQs
- How long to learn proper form? A few weeks with practice—I got it in a month!
- Is mixed grip safe? Yes, if balanced—watch bicep strain. I adjust mine carefully.
- What if my back hurts? Stop, check form, and rest—saved me from worse!
- Do I need a belt? Optional for heavy lifts—I use one above 80% max.
- How often should I deadlift? 1-2 times a week—overdoing it stalled me once.
- Can I deadlift without shoes? Yes, but flats help—I switched and felt stabler.